I’ve completely made it up and it definitely needs some tweaking, but the rules are essentially this:
The whole class is introduced to the method of the game. The point of the game is to increase ideation fluency, collaboration, risk taking and communication skills. To get them thinking on their feet quickly, I project the descriptions of the steps on the screen and just watch the clock and tell them when to move to the next step. If you are comfortable with using a timer, that might be nice too. It’s not really “design thinking” as much as it forces them to get moving fast. If you teach adolescents in the morning, you might understand the need this game is providing. :) So far, it’s been a warm up the kids have liked (middle school). The students work in groups of four – six. Sometimes they work by table and sometimes I break the group up into different configurations so they work with new people.
I try to pick objects for them to redesign that they already feel comfortable with and use on a nearly daily basis, and something I have in my classroom for them to look at as they think. Examples: backpack, flashlight, pencil case, etc
A crayon picture I made for an assessment workshop, just so this post wouldn't be visually boring. You're welcome.
1 minute – kids quietly and independently list everything they know about that particular object in their sketchbooks 1 minute – team makes a pro/con list about the object they are redesigning. They need to list all of the good things worth keeping and the problems they have had with that object. Ex backpack "pro" is that you can find it in many colors/patterns and a backpack "con" could be that the zippers can break. 2 minutes – team makes sketches and plans to enhance the "pros" and repair the "cons". Like they say at IDEO, “All ideas are good ideas” and for this game money and practicality are not obstacles. 1 minute – team plans a creative presentation. I require my students to at least stand up front with their team, even if they choose not to be the one speaking. As the marking period goes on, I find that they gain a little more courage, and eventually, most kids will speak at some point. Now that we have crossed the halfway marker of the marking period, the presentations have actually gotten pretty good, despite the one minute planning time for them. They usually involve some sort of physical interaction with said object and jet packs or invisibility cloaks.
We spend about 5 – 10 minutes watching the team presentations with time for clapping/cheering and questions/comments in between groups. If you wanted to extend this, you could have the kids ask questions and then ask the teams to go back and redesign their work and re – present. I haven’t tried that yet, but it’s an idea.
Our district has recently implemented a mobile 1:1 program. This means that all of our students will have access to technology both in school and at home through the use of school provided mobile devices with 3G. The students are highly engaged in learning how to use their devices in new ways. I am highly interested in offering a 21st century curriculum by encouraging students to collaborate with each other to solve creative problems using technology as a creative tool.
Planning camera angles
Filming in progress
Experimenting
First, we just played. I think it's important to give the students an opportunity to experiment with the media they will be using in depth later. It's also a nice hook. We experimented with several movie making apps and made little movies about scissors moving across the table or pencils disappearing into their hands. Students were encouraged to explore free apps that they could find and to settle on one that worked best for them (that also had a share feature).
Practicing Skills
Some students used the school provided Android based phones (stop motion lite) and while others used their personal iPads or iPhones (gorrillacam and iMovie) to explore movie making apps. We practiced saving and sharing our work via Google Drive.
Experimenting with ideas
Investigating
Next, we dissected the qualities of good stop motion animation via several You Tube clips ranging from very amateur to professional. The students developed an understanding of how character development, story, camera angles, frames per second and a stationary camera can impact the quality of a stop motion movie. Blendspace link to all of the clips
Collaborating and Building Community
Testing the background
The students divided into teams and developed plans for their movies. No minimum length was given. No parameters for content were set. The goal was to make a film that could tell a story, any type of genre would do and any method of character development would be accepted. As a first project with a new group of mixed 6th - 8th grade students, this learning experience was as much about building community as it was about building movie making and technology skills.
Building characters
Open Ended Problems
I purposely did not tie a theme to their work or require a specific meaning making target as I was interested in what they would choose to do if given free reign of subject. I am always searching for what is meaningful to my students. I want them to think and behave as artists do. Setting a meaning making target or theme will help do this. Sometimes though, (like for this problem) I like to intentionally step back and just observe where they are at and notice their interests.
Students collaboratively developed storyboards and made props. They did not seem to struggle with developing ideas and many noticed how having a team to collaborate with really helped.
Groups wrote love stories, adventure themes, reenactments from films they have seen or books they have read and some were screen versions of characters the students had previously developed through their own creative writing. Of course, as expected there were the ever popular epic battle scenes, some groups tried to defy the laws of nature and some were just plain silly. My role in this creative problem finding/solving adventure became materials facilitator, collaboration coach and tech consult.
While I see the value in inviting students to have full creative license in their story production, I think that next time I will close the problem just a little bit and offer a range of four or five themes for them to choose from. When editing the works together, the final product would be more cohesive if they could be grouped in this way. I'm leaning towards the themes of transformation, growth, community and interdependence.
Inventing
Students made their movies from a wide variety of materials. Each group chose among many things including paper, modeling clay, toys, cardboard, tools,whiteboards with Expo markers and some groups used their own bodies.
One of the challenges that many of the groups had in making their films involved finding ways to keep the camera still. The three tripods our media center had to loan only worked for flip cameras. The kids became pretty inventive, taping their phones and iPads to upside down stool legs and using binder clips attached to books and other things to keep their shots consistent.
When I try this again with a new group, I will invite the students to spend more class time investigating the benefits and limitations of each of the material choices. We may even spend a few days making more "practice" videos with each of the material options. I also hope to find some grant money for some movie making materials, including a set of ten or twelve tripods.
Making "fireworks"
Sharing an Experience
The students finished their very short animations in time to be edited together (thanks Jim!) into one large production. This feature was premiered prior to an annual after school art event called the "Trashion Show" that I will post about soon.
The students were completely engrossed watching their own movies on the big screen for the first time. You could have heard a pin drop.
Reflecting
The students reflected upon the success of their films and the process of collaborating with others. We talked about how essential collaboration is to the creative process. They wrote and/or recorded "words of advice" for future classes who will also experiment with making stop motion animation films. Some of their "words of advice":
"It's good to work with your friends, it can be easy when they help come up with ideas, but sometimes hard too. You have to learn to deal with problems together."
"Being creative and making movies is fun, but it's also a lot of work. If you try to do your best and work hard, you can surprise yourself."
"Make sure you take lots and lots of frames per second, otherwise your movie will be choppy and too fast."
"Be sure to save your work a lot. And always have a back up plan if your first idea doesn't look as good as you thought."
"Decide who will be in charge of the camera and who will move the stuff around. Keep your phone still or else your movie will look like there's something wrong with it."
"Use your time well. Don't think you can wait until the last minute because you can't."
Below are three of my favorite student made movies. I hope you enjoy them as much as my students and I do!
A typical week in figuring
out how to teach FOR creativity
I decided to write about this week for the blog because it
was a pretty average week, and it was one of the first weeks we haven’t lost a
day of instruction due to snow or ice or professional development. This winter sure has been
crazy in Michigan. I plan on using this blog entry as
evidence for my teaching practice for my principal as well, so I have
highlighted lesson plan elements in green throughout.
The theme for this marking period is humor, so far this
marking period, we have been practicing our ideation fluency, flexibility,
originality and elaboration skills through developing illustrated jokes,
humorous juxtaposed magazine and digital collages and we “improved” some tacky
Goodwill paintings.
We started the week working on a mini project PLAYING with
toys.“Play” is an essential component
to building creative thinking in students. It builds flexibility and it is the
root skill of elaboration. I can: experiment with
ideas and combine ideas in ways to make new meaning.
Student experimenting with ideas, making new meaning
The students were given direction to play with donated
unloved or broken toys and just see what they could do with them for about ten
minutes.They had so much fun re-living
their earlier childhood, being silly and playing together collaborating. Next, I gave each of my students a
card from the game “Spot It”.
and gave them the instructions to pick out just one toy. The
cards are filled with pictures of all sorts of different things: anchors,
hearts, light bulbs, fish, etc. Students were to find a person with a matching
card and meet up with them to discuss and share ideas about different ways the
two new toys could be combined to make a new toy.
Think, Pair, Share
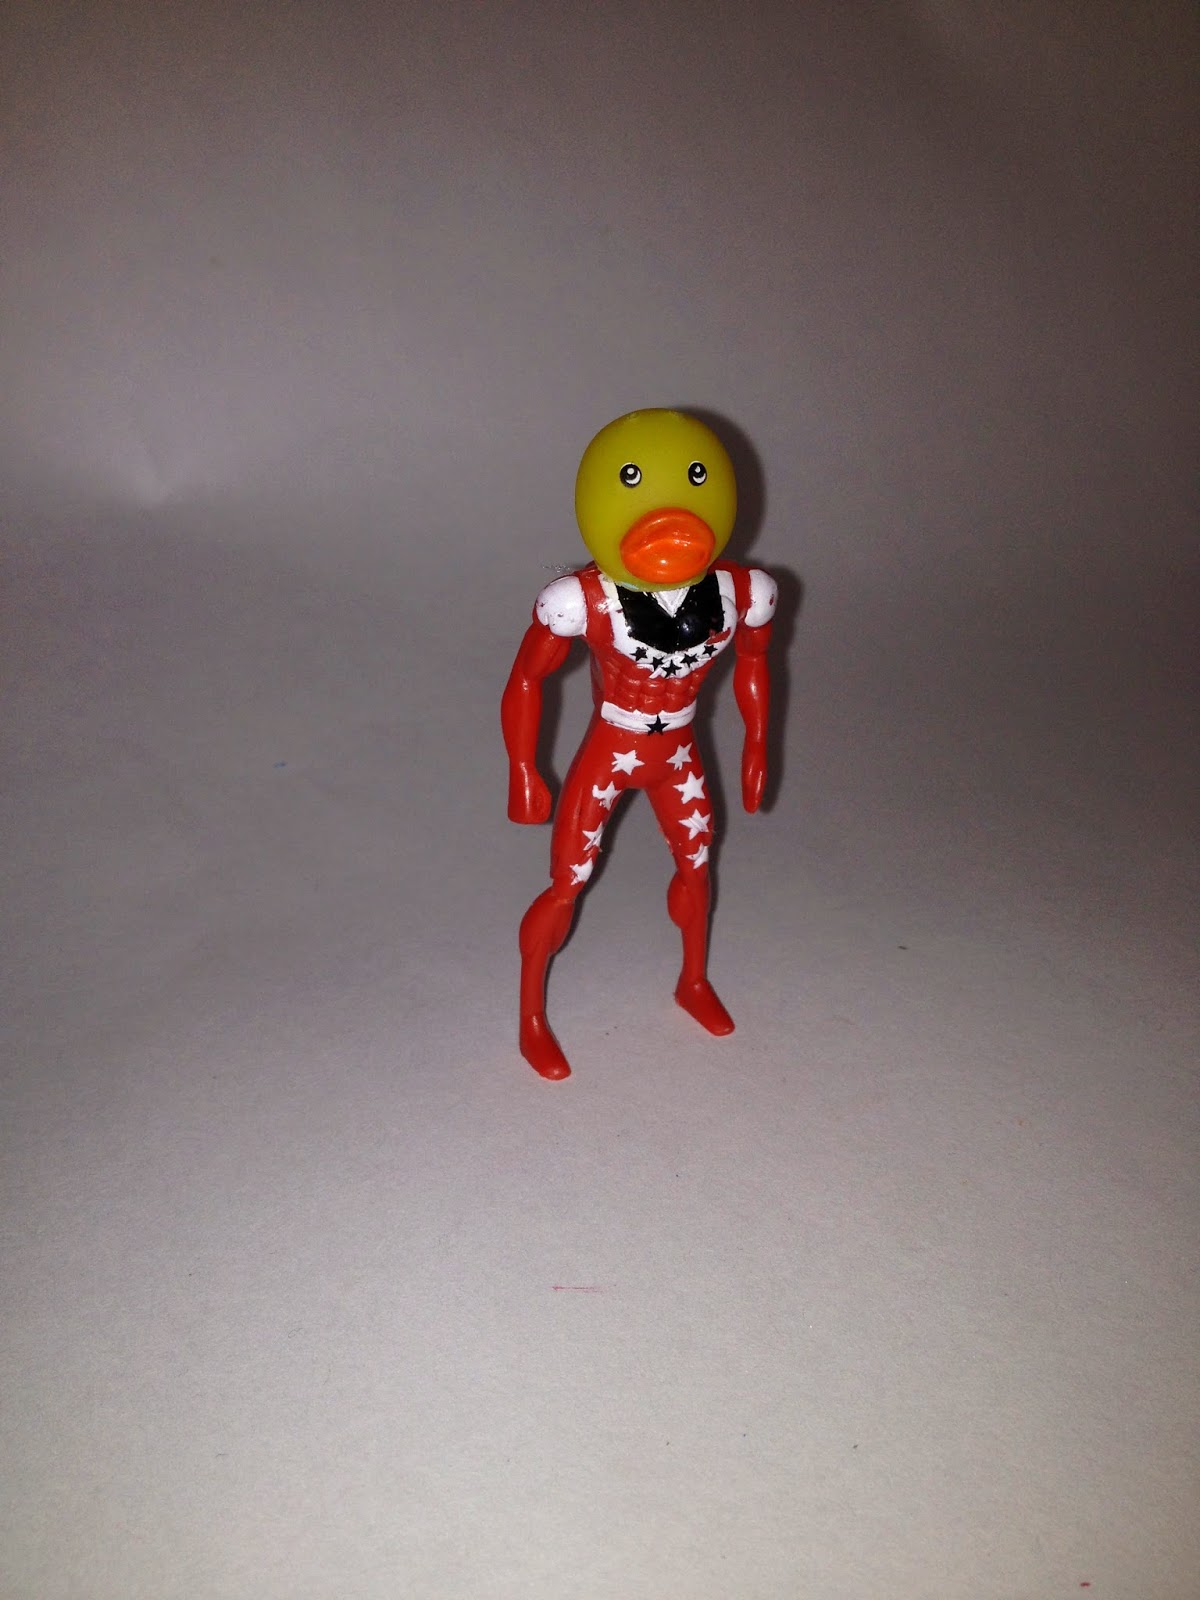
Super Duck by Elliot L.
After about five minutes, students shared out some of their
ideas and then were asked to trade toys with their partner and find a new
partner that also matched their card. This time, more rules were added to the
ideation game, not only did they need to combine toys, but also they had to
think about how one of the images on one of their cards could be worked into
the new toy design. Think, Pair, Share This
scaffolding process continued and new rules were added with each round. The
students were getting pretty excited about their ideas. The closing activity
included the last set of partners sharing out their plans for a new toy and
giving their new toy a name Exit Ticket.
Ultra mechanic by Jacob W.
Tuesday began
with an activity Bell Ringer that invited the
students to select a toy from the bins and spend a little time with it, do a
little observational drawing in their books and diagram the best features of
the toy in detail. Teaching for Observation We talked a
little about what made the Franken Toys we saw on Monday in class successful
and we reviewed the three expectations for the mini-lesson: To combine toys in
a humorous and interesting way, to make the connections seem manufactured
(stitches neat, glue hidden from view, paint applied with care), and to create
a slogan, jingle or sales pitch for their new invention. Rubric
I gave two quick whole class tutorial reviews Direct Instruction on how to sew (many students had
had my class before and have already learned this skill from different lessons
and so could teach each other. I also reviewed
the safety measures that we need to take when using tools as in some cases toys
may need to be disassembled using screwdrivers, exacto knives, pliers or small
saws. We practiced the skills together and I made sure every student had the
skill set they needed in order to complete their work with care. Guided Practice
After I felt confident that they had the safety measures
under control, the students were set free to play with and combine toys. You
could have heard a pin drop, they were so engaged in play and experimentation.
Moo-rice Rodriguez with sidekicks in backpack by Adrianna B.
Wednesday was a workday.
Students rushed into the room ready to explore what their toys could do. Many
had gone home and scavenged their own toy box and came in with new treasure
pieces they could add to their assemblage.Students were given the choice to work
independently or collaboratively.
Thursday students
were asked to document their work in their
books, to make quick sketches of what they had combined and to come up with a
name for their new creation. Reflection/Bell Ringer
They had the rest of the hour to work on assembling the final details, but were
asked this time to think about what their slogan or jingle might be that would
go with their new toy design as they played with their ideas.This was really fun; you could hear the hum
of silly jingles and rhymes echoing throughout the room. As an Exit Ticket, the students were asked to write down
their slogan/jingle and new toy name on a slip that also served as a display
tag for showing off their new creation in our media center.Our media center looks pretty lively now!
Friday was our
first experimentation in using improvisation to teach for creativity.I currently have a pre-intern student teacher
from Kendall College of Art and Design, Clair Pearl, who comes on most Fridays.
She designed and taught this lesson under my supervision. I can: collaborate, listen and become comfortable with
change.
Clair began with a PowerPoint presentation showing some of
Richard Avedon’s photographs of people with various expressive qualities. She
began using some VTS (Visual Thinking Strategies) questioning
to activate the students thinking. “How do they look?, How can you tell
how they are feeling?, What makes you think that?, How do you think they are
feeling?. Etc.”
The presentation also presented information like “60 – 90%
of human communication is non-verbal” and discussed the importance of body
language. She then asked the students about the connection they could guess
between body language and improvisation.
She followed the presentation with a TEDx talk on
improvisation. “Dave Morris – The way of improvisation” https://www.youtube.com/watch?v=MUO-pWJ0riQ
In this talk, Morris talks about the importance of failure to success in life.
He emphasizes, “Failing does not make you a failure.” I love that the main
components of improv are all about collaboration,
listening and change.
Clair asked all of the students to stand up in a circle
around the room and we played a short improv game called “Zip, Zap, Zop”. The
goal of the game is to encourage listening skills and
to be collaborative. To play the game, a student would shout “ZIP!” and
point across the circle to another student who would then shout and point
“ZAP!” to another student, followed by a third who would shout and point “ZOP!”
and the cycle would repeat around the circle, trying to get as fast as we could
go.This simple sounding game really
pushed the kids to pay attention and helped develop some commitment to their
part as you have to be pretty direct with your pointing if the person across
from the circle from you is to know who’s turn is next.
Clair then introduced another improv game called Funny noises.She asked one student to develop a noise and
to basically play telephone by each person sending that noise around the
circle.Students had to pay attention and listen for when the sound came to
them.To up the game, a second noise was
introduced and it was sent in the opposite direction around the circle.Inevitably, students would be tasked to send
both noises in different directions around the circle at the same time.
The last game Clair played with them was called “The world’s
worst”. She reviewed with them the job of an EmCee (to be the rule maker and
moderator), what it meant to keep participation school appropriate (otherwise
she would call out “too blue” and you would be removed from the scene) and the
roles of a good audience.
Four volunteers stepped up and each used body language alone
or speech to demonstrate the world’s worst of some profession or skill
(suggestions offered by the audience)… World's worst cashier, world’s worst
waiter, world’s worst driver, etc.After
a group of four performed a new group of student volunteers joined in and tried
out a new “world’s worst theme”.It was
quite a lot of fun and I think that it will be a great one or two day addition
to this creativity curriculum as it teaches so many great skills.
Improvisation: Acting with little
or no practice, playing with ideas and actions, doing stuff on the fly…just
like life!
SteamPunk is a sub genre of science fiction that is primarily focused on the creation of an alternate history with Victorian era/ Western Themed / Mechanized gadgetry. The style features "retro-futurstic" works that are primarily steam powered.
Hanging out at the MAEA SteamPunk gala with
former student teacher and art ed buddy, Michelle
The 2013 Michigan Art Education Association conference held at the Grand Hotel on Mackinac Island's theme was the "Grand Vision" and decked out in SteamPunk finery.
There are lots of resources online about SteamPunk and even conventions where people can connect and celebrate their creativity in this theme.
Learning to step back:
As an art teacher, we find ourselves in a dilemma when we stumble across fun art styles that inspire us. We get "tunnel vision" and a grand idea in our heads about all of the cool things our kids could do with the theme that's inspired us. I think it's natural for us to do, we're creative people. In my early teaching days and not too distant past, I have been guilty of asking my students to make Impressionist or Aboriginal or Monochromatic "Blue Period" style paintings, Louise Nevelson boxes or Alexander Calder mobiles. And just like getting excited about Chuck Close's fingerprint portraits I used to have my high school kids make, learning about SteamPunk got me thinking of all of the cool gears and watchfaces I could get my hands on for students to incorporate into jewelry or something equally cool, like maybe they could all make SteamPunk glasses like my friend Michelle is wearing in this photo.
Looking at my practice critically however, it's important to ask myself, "Where is the line that is crossed when the art or creative thinking our students are making/doing is ours (or someone else's) and it becomes no longer the students?"
How do you encourage creative thinking and creative invention/discovery if we ask our students to create work in the theme of ___________ (whatever the teacher has become inspired by, in this case, in the theme of SteamPunk). How can I have my students learn about an art movement or art style and not have them be copiers of a style or of another artists' ideas? I posed this challenge to myself: How can I accomplish these two goals: A. Introduce students to this cool science fiction style of art making. B. How "hands off" can I be in designing a lesson so that my students maintain the role of being the most creative people in the classroom and not just following through with an idea I have?
This is what we did.
1. I showed them lots of examples of really cool SteamPunk Art work. We looked at videos, people making costumes, tons of sculptures and mechanized SteamPunk toys, jewelry, and we even watched a little of the Tim Burton animated movie "9". The lesson timing lined up with a field trip for all sixth graders to visit ArtPrize (an international art competition held annually in downtown Grand Rapids, MI) where many of the submitted works were SteamPunk in design. Every year there are more than a few works made by local artists who are skilled at welding and animatronics. The kids were excitedly pointing out to their non art class friends all of the SteamPunk features they could identify.
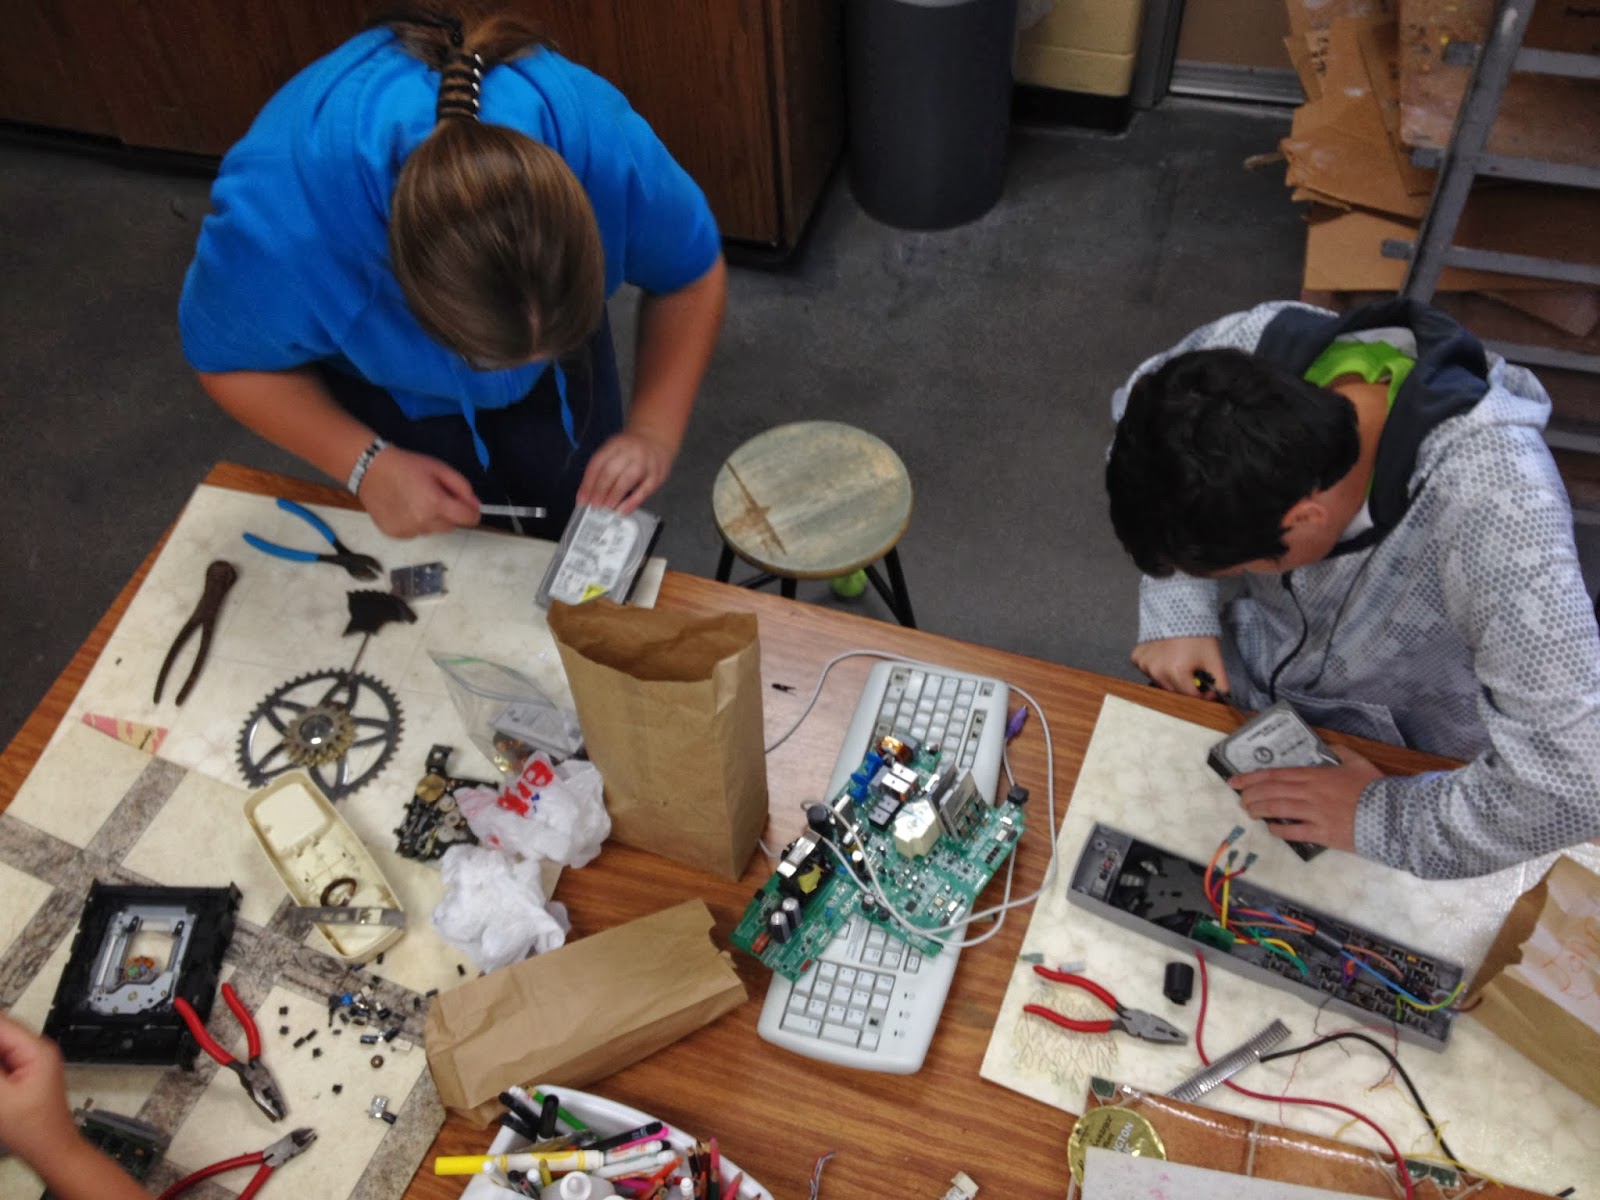
2. We gathered materials for mixed media assemblage sculptures. We asked for broken appliances, tech trash, broken down computers and printers, nuts and bolts and random scrap from garages and foundries. We got a lot of really bizarre stuff, which was cool.
Learning how to use tools properly.
Figuring out how to take stuff apart.
Sharing treasures.
Collaborating and building on each others creative ideas.
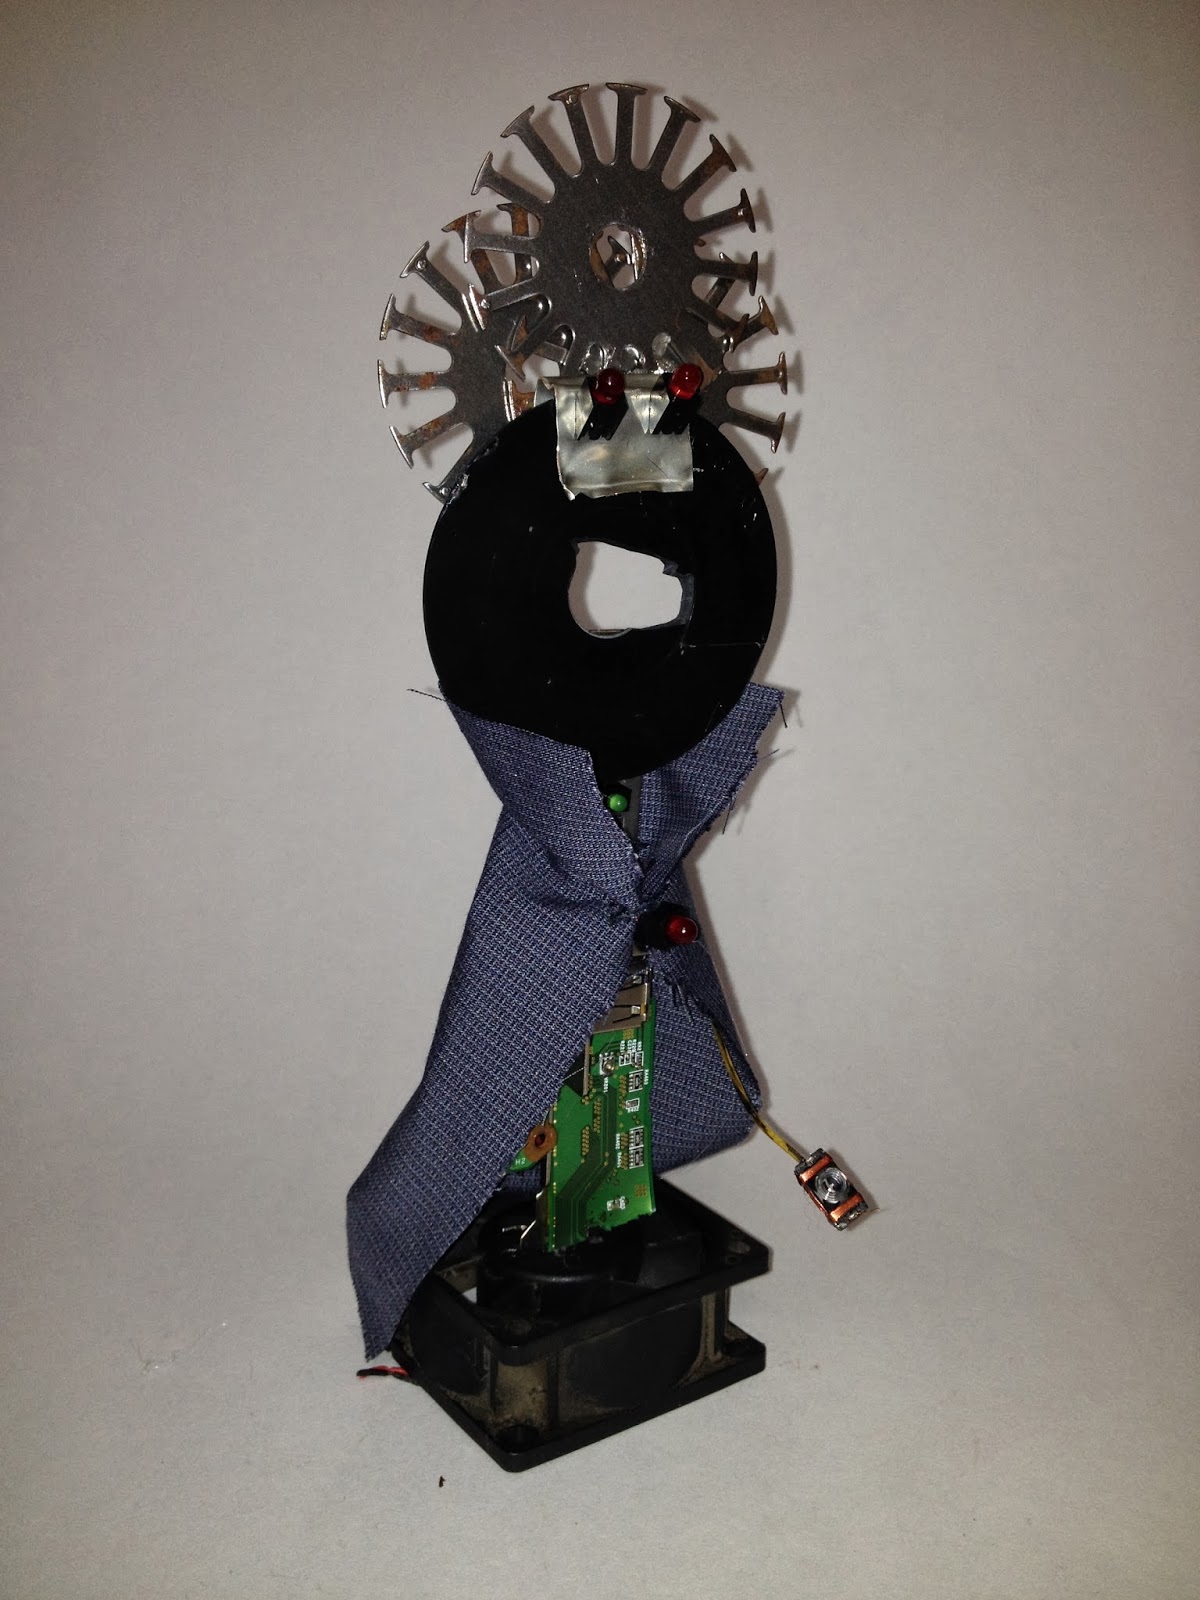
3. The students were given the following directions: Take some stuff apart. See what's on the inside, how does it work? Make something from what you've destroyed. Make sure it's interesting enough that you are proud of it. Make it with care. How can you put things together without showing how they are attached or the attachment is part of the design? Go.
I did not ask them to make something specifically SteamPunk inspired, on purpose. You can still see the SteamPunk influences showing up in some of their work.
Retro-futuristic fashion
Policeman in a warehouse
Hot Air Balloon
Jeremy
Headband of the future
SteamPunk spider (that actually crawls!)
The students had a few different gauges of wire, hot glue guns and dollar store tools at their disposal.
With laminate floor samples to cover/protect the tables, they got to work disassembling and exploring stuff. Some students chose to work alone, many chose to collaborate. Aside from the sound of destruction, you could have heard a pin drop they were so engaged.
Key to my heart
Robo turtle
Hypnotic Photographer
Harold
Robo butterfly
Super kitty
4. At the end of the week students named their work and wrote reflections on what they learned about the creation process and the Steam Punk movement. Note: they were not asked to write about how their work was "Steam Punk". They did happen to draw some parallels naturally though. The students set up a mini- gallery around the room and we talked about the ideas and experiences that each artist had during this discovery lesson.
Tiara with Laser
Reginald and Franklin, best friends
Time eternal
Roberto
PaintBot
Because I did not say to them "Make something that looks like SteamPunk." or "Make a robot" or "Make a sculpture that does ________", there was a very wide variety of student responses. Learning to step back and let go of your vision allows room for the students vision to develop.
You can always count on science fiction authors to come up with some pretty fantastic creatures. Most of the creatures in Sci-Fi are made of pieces and parts of already existing creatures. Hybridization is an old standby for creative idea generationSwitch Zoo is a game you can play on your phone or online that students can use to play with hybridizing animal parts together. I wanted to push my students a little further by encouraging them to think outside of the "animal only" mode.
. Take two or more disparate objects or ideas and Voila!, you have a creative beginning to a work of art.
We had only one week to devote to this exploration and experimentation with clay as a media.
How we played with hybridization:
1. Students by table groups of four make 4 lists. Each table made lists of 10 animals, 10 foods, 10 modes of transportation and 10 everyday objects/tools.
2. The students cut up their lists and put all of their little strips into a paper lunch bag.
3. We traded bags among the tables.
4. Students had to draw two or more words from the bag as inspiration for a hybridization.
Toaster Spider
5. Students made several wacky quick drawings of the new hybridizations and shared their results with the class. It was pretty fun to see what everyone came up with.
After a day of playing with ideas, students developed their favorite blend and set to make it come alive using clay and the pinch/pull method of construction. For most of my students, this is their first or second experience with clay ever. I am pretty happy with the results considering they only had four class periods to have their hands in the clay!
Students self assessed the quality of their work by asking students who they did not sit by if they could guess what objects they were combining in their work. If the body parts were not discernible to their particular character in mind, then it meant that they needed to keep working on it until they had enough details to describe their creation. This was a nice way to encourage collaboration in the classroom and it also helped students reach a more sophisticated level of craftsmanship. All works are low fire white clay, painted with acrylic paint.